2024.01.30
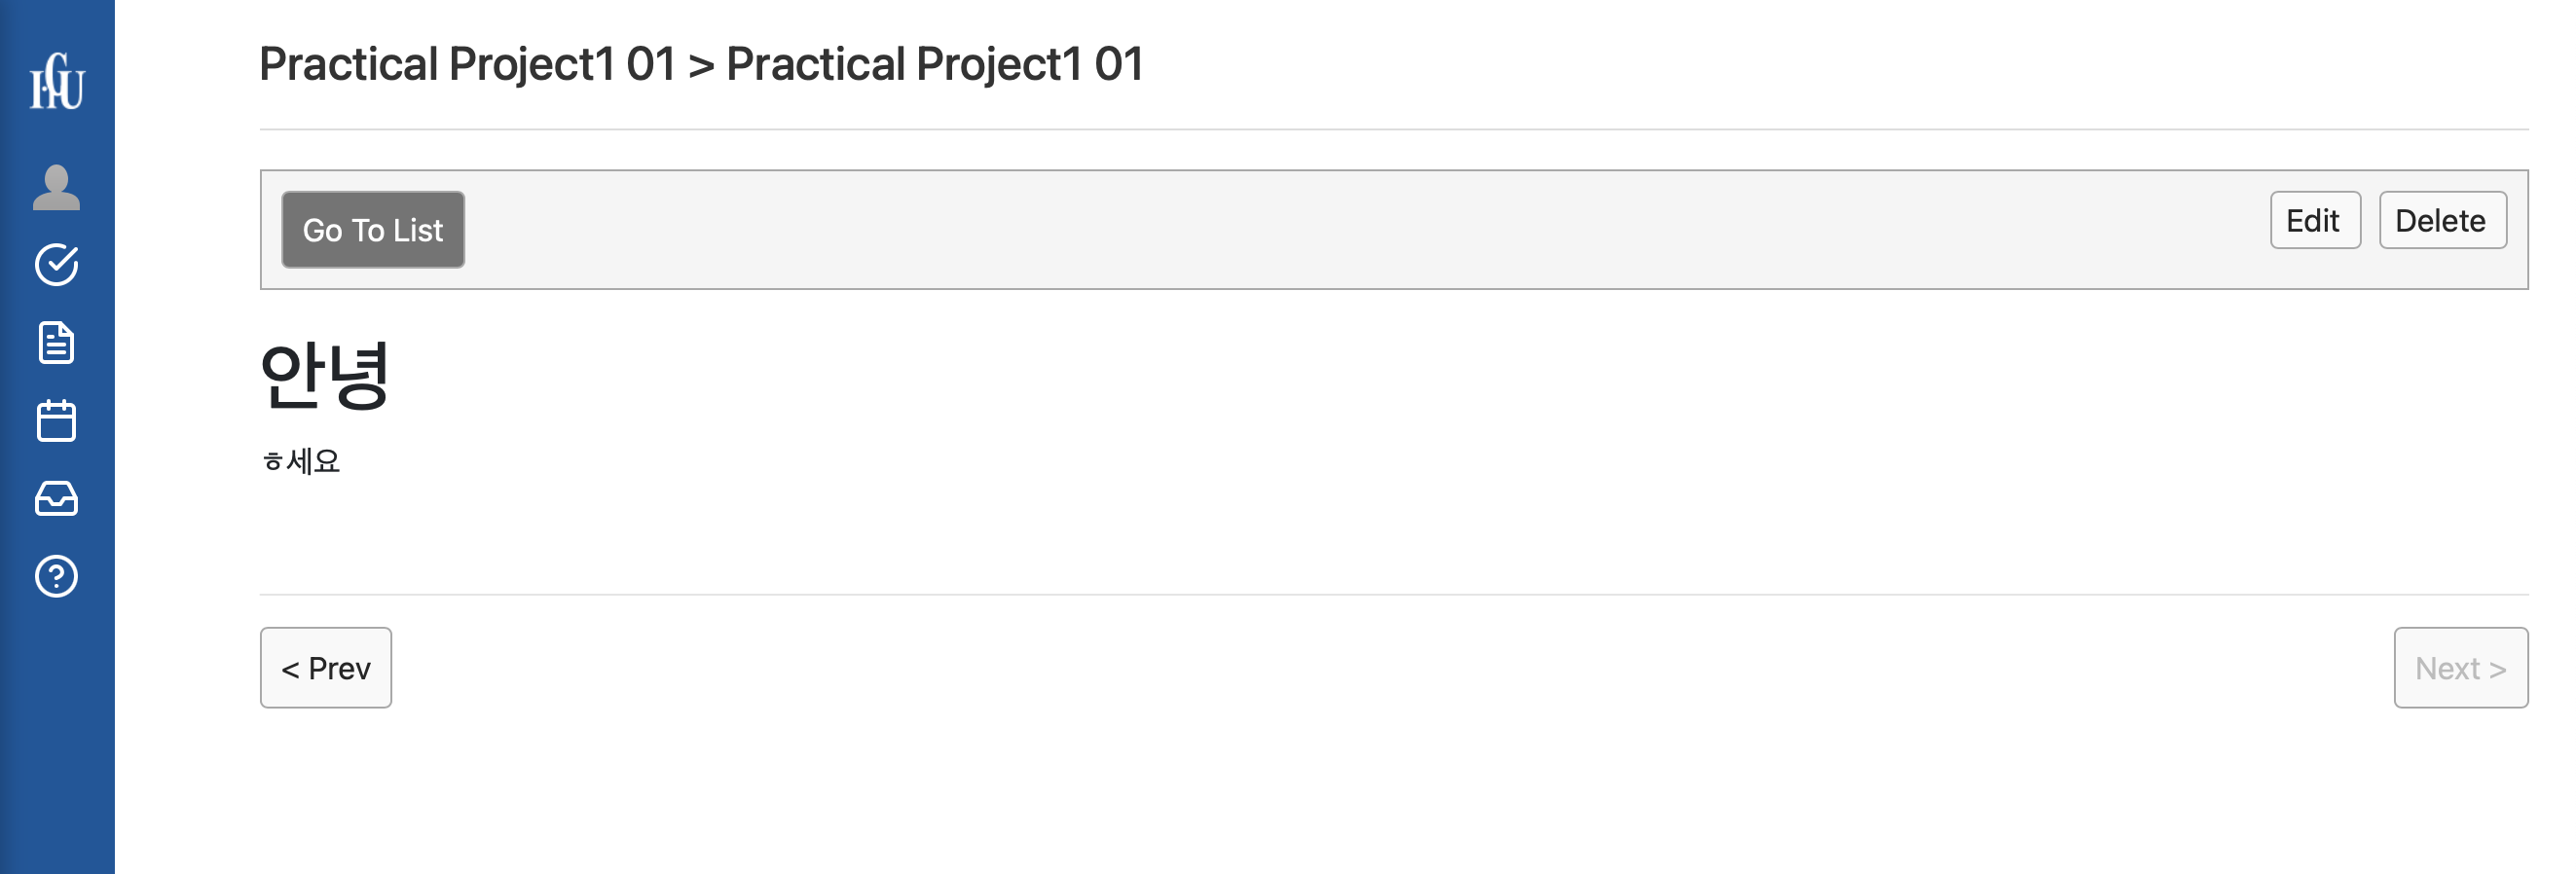
오늘은 글 상세 보기 페이지에서 다음 글로 넘어가는 버튼과 전 글로 넘어가는 버튼을 구현하는 방법을 알아보자. 다음, 이전 글이 있다면 버튼이 활성화되어있고 없다면 비활성화되도록 구현할 것이다.


1. 먼저 html에서 Prev 버튼과 Next버튼을 만들어준다.
<div class="navigation">
  <hr>
  <div class="nav-buttons">
    <button th:if="${isPrevPostAvailable}"
            th:onclick="'location.href=\'' + @{/post/{id}(id=${prevPostId})} + '\''"
            class="nav-btn prev"> < Prev</button>

    <button th:unless="${isPrevPostAvailable}"
            disabled="disabled"
            class="nav-btn prev"> < Prev</button>


    <button th:if="${isNextPostAvailable}"
            th:onclick="'location.href=\'' + @{/post/{id}(id=${nextPostId})} + '\''"
            class="nav-btn next">Next > </button>

    <button th:unless="${isNextPostAvailable}"
            disabled="disabled"
            class="nav-btn next">Next > </button>
  </div>
</div>
Prev버튼과 Next버튼 각각 활성화 된 모습과 비활성화된 모습을 만들어 준다.
2. Service를 만들어준다. 나의 경우엔 PostService에서 post관련 service를 관리한다.
private final PostRepository postRepository;

    @Autowired
    public PostService(PostRepository postRepository) {
        this.postRepository = postRepository;
    }

public Long findPreviousPostId(Long currentPostId) {
    return postRepository.findPreviousPostId(currentPostId);
}

public Long findNextPostId(Long currentPostId) {
    return postRepository.findNextPostId(currentPostId);
}
3. Repository 관리 (PostRepository interface)
public interface PostRepository {
    Long findPreviousPostId(Long id);
    Long findNextPostId(Long id);
}
4. JDBCTemplate 이용하여 기능 구현 (JdbcRepository implements PostRepository)
private final JdbcTemplate jdbcTemplate;

public JdbcPostRepository(DataSource dataSource) {
    this.jdbcTemplate = new JdbcTemplate(dataSource);
}

    public Long findPreviousPostId(Long currentPostId) {
        String sql = "SELECT id FROM qna WHERE id < ? ORDER BY id DESC LIMIT 1";
        try {
            return jdbcTemplate.queryForObject(sql, new Object[]{currentPostId}, Long.class);
        } catch (EmptyResultDataAccessException e) {
            return null;
        }
    }

    public Long findNextPostId(Long currentPostId) {
        String sql = "SELECT id FROM qna WHERE id > ? ORDER BY id ASC LIMIT 1";
        try {
            return jdbcTemplate.queryForObject(sql, new Object[]{currentPostId}, Long.class);
        } catch (EmptyResultDataAccessException e) {
            return null;
        }
    }
5. Controller에서 기능 호출 및 동작 관리
private final PostService postService;

    @Autowired
    public PostController(PostService postService) {
        this.postService = postService;
    }

@GetMapping("/post/{id}")
public String viewPost(@PathVariable Long id, Model model) {
    Optional<Post> postOptional = postService.findOne(id);
    if (postOptional.isPresent()) {
        model.addAttribute("post", postOptional.get());
        Long prevPostId = postService.findPreviousPostId(id);
        Long nextPostId = postService.findNextPostId(id);
        model.addAttribute("prevPostId", prevPostId);
        model.addAttribute("isPrevPostAvailable", prevPostId != null);
        model.addAttribute("nextPostId", nextPostId);
        model.addAttribute("isNextPostAvailable", nextPostId != null);
    } else {
        return "redirect:/errorPage";
    }
    return "postDetail";
}
간단하게 전체 동작 흐름을 설명하자면 다음과 같다.
페이지 상세보기 html 페이지(tymeleaf)를 들어가면 먼저 GetMapping이 되어 postservice의 findPreviousPostId와 findNextPostId가 실행된다. 예를 들어 findPreviousPostId를 실행시키면 id값을 가지고 아래 함수로 이동하는데,
public Long findPreviousPostId(Long currentPostId) {
    return postRepository.findPreviousPostId(currentPostId);
}
여기서 받은 id값을 postRepository의 findPreviousPostId로 넘겨주게 된다. 현재 PostRepository는 아래와 같이 implements 되어있기에 JdbcPostRepository의 구현체를 실행시킨다.
public class JdbcPostRepository implements PostRepository {
JdbcPostRepository는 아래와 같이 구현되어 있다.
public Long findPreviousPostId(Long currentPostId) {
    String sql = "SELECT id FROM qna WHERE id < ? ORDER BY id DESC LIMIT 1";
    try {
        return jdbcTemplate.queryForObject(sql, new Object[]{currentPostId}, Long.class);
    } catch (EmptyResultDataAccessException e) {
        return null;
    }
}
DB에 qna 테이블에서 id값을 기준으로 자신보다 작은 것들을 하나씩 찾아준다(LIMIT 1)
@GetMapping("/post/{id}")
public String viewPost(@PathVariable Long id, Model model) {
    Optional<Post> postOptional = postService.findOne(id);
    if (postOptional.isPresent()) {
        model.addAttribute("post", postOptional.get());
        Long prevPostId = postService.findPreviousPostId(id);
        Long nextPostId = postService.findNextPostId(id);
        model.addAttribute("prevPostId", prevPostId);
        model.addAttribute("isPrevPostAvailable", prevPostId != null);
        model.addAttribute("nextPostId", nextPostId);
        model.addAttribute("isNextPostAvailable", nextPostId != null);
    } else {
        return "redirect:/errorPage";
    }
    return "postDetail";
}
함수 동작 설명
1. model.addAttribute("prevPostId", prevPostId);
- 이 코드는 이전 게시물의 ID (prevPostId)를 "prevPostId"라는 이름으로 모델에 추가합니다. 이를 통해 View에서 이전 게시물의 ID에 접근할 수 있게 됩니다. prevPostId는 postService.findPreviousPostId(id)를 통해 현재 게시물 ID 바로 이전에 있는 게시물의 ID를 조회하여 얻어지는 값입니다.
2. model.addAttribute("isPrevPostAvailable", prevPostId!= null);
- 이 코드는 이전 게시물의 존재 여부를 나타내는 불리언 값을 "isPrevPostAvailable"이라는 이름으로 모델에 추가합니다. prevPostId!= null은 이전 게시물이 존재하는지 여부를 확인하는 조건입니다. 이전 게시물이 존재하면 true, 존재하지 않으면 false가 됩니다.
이제 이 값을 가지고
 <div class="navigation">
      <hr>
      <div class="nav-buttons">
        <button th:if="${isPrevPostAvailable}"
                th:onclick="'location.href=\'' + @{/post/{id}(id=${prevPostId})} + '\''"
                class="nav-btn prev"> < Prev</button>

        <button th:unless="${isPrevPostAvailable}"
                disabled="disabled"
                class="nav-btn prev"> < Prev</button>


        <button th:if="${isNextPostAvailable}"
                th:onclick="'location.href=\'' + @{/post/{id}(id=${nextPostId})} + '\''"
                class="nav-btn next">Next > </button>

        <button th:unless="${isNextPostAvailable}"
                disabled="disabled"
                class="nav-btn next">Next > </button>
      </div>
    </div>
  </main>
</div>
if isPrevPostAvailable이 true라면 이전 항목으로 갈 수 있는 버튼이 활성화 되며 반대로 false라면 disabled 되어 화면이 구성됩니다.
'클론코딩' 카테고리의 다른 글
| LMS Web 클론코딩 13 (이미지 업로드) (0) | 2024.02.07 |
|---|---|
| LMS Web 클론코딩 12 (검색기능 구현, Date 나타내기) (0) | 2024.02.02 |
| LMS Web 클론코딩 10 (JDBC Template로 CRUD 구현하기 2) (3) | 2024.01.28 |
| LMS Web 클론코딩 9 (JDBC Template로 CRUD 구현하기 1) (0) | 2024.01.26 |
| LMS Web 클론코딩 8 (Spring Dependency, 난관해결방법) (1) | 2024.01.25 |


